


GREEN24
Monstera & Philodendron Compost

Couldn't load pickup availability
Item details

- For Monstera & Philodendron
- Organic & mineral
- Freshly mixed & packed
- Quality checks for pests
At a glance
Monstera & Philodendron Compost
Ready-to-use growing medium for Monstera and Philodendron.
- Suitable for
- Monstera & Philodendron
- Pack
- 10 litres
- Use
- Planting & repotting
- Subsequent feeding
- No earlier than 4 weeks
Use a suitable fertiliser.
Follow the product label.
Easy application
Monstera & Philodendron Compost
- Pot & drainage
Choose a stable pot with clear drainage holes; if needed, use a slightly larger pot.
- Root ball & watering space
Add compost beneath the root ball. Keep the original planting depth, fill around in layers and firm gently. Leave watering space and keep the root collar uncovered.
- Water & aftercare
Water thoroughly, let excess water drain and check for settling. Empty the saucer afterwards.
Product information
Application & repottingFor Monstera and Philodendron in pots and containers.
For pots and planters: the roots grow entirely in the medium inside the container, separate from natural ground soil. This is what ‘soilless cultivation’ means here. This mix is not intended to be worked into a garden bed.
Contains boron, copper and zinc in amounts relevant to plant cultivation. Declared nutrient contents apply when the product is placed on the market and may vary naturally. After storage, check nutrients before use if necessary.
The general leaflet supplements the repotting guidance. This growing medium remains limited to use independent of natural soil, as stated on its label. The leaflet’s garden-soil mixing instructions do not extend this product’s intended use.
Read product information and the label before use.
PropertiesProduct characteristics and guidance
Freshly mixed, freshly packed: GREEN24 Monstera & Philodendron Potting Mix combines carefully balanced organic and mineral ingredients in a ready-to-use specialist growing medium from the PROFI LINIE.
Pest checks are part of our quality assurance. Plant care therefore begins when the mix is prepared and packed.
Composition & declarationProduct label information
Raised-bog peat (decomposition degree H3-H8), plant materials from forestry (conifer bark, bark humus), clay (expanded clay), perlite of natural origin, rock (lava), calcium carbonate and NPK fertiliser.
Wetting agents support rewetting with water.
- pH: 5.8 (CaCl2)
- Salt content: 1.0 g/l (KCl)
- Nitrogen (N): 180 mg/l (CaCl2)
- Phosphate (P₂O₅): 210 mg/l (CAL)
- Potassium oxide (K₂O): 360 mg/l (CAL)
- Magnesium (Mg): 70 mg/l (CaCl2)
Pairs well with
Selected additions for your plant care.
-

Monstera & Philodendron Fertiliser
From €9,85 View productFeed later as needed, no earlier than four weeks according to the substrate label.
-

Dr. Stähler yellow sticky plant traps – pack of 12
€4,80 View productSticky traps for monitoring flying insects on plants indoors or in conservatories. They catch adult fungus gnats, not larvae in the potting mix.
-

Schädlings-Frei-Organic – 100 ml
€16,95 View productFor fungus gnats only under the authorised drench use for ornamental young-plant propagation in a greenhouse. Follow the label and check plant compatibility.


Use plant protection products safely. Always read the label and product information before use.


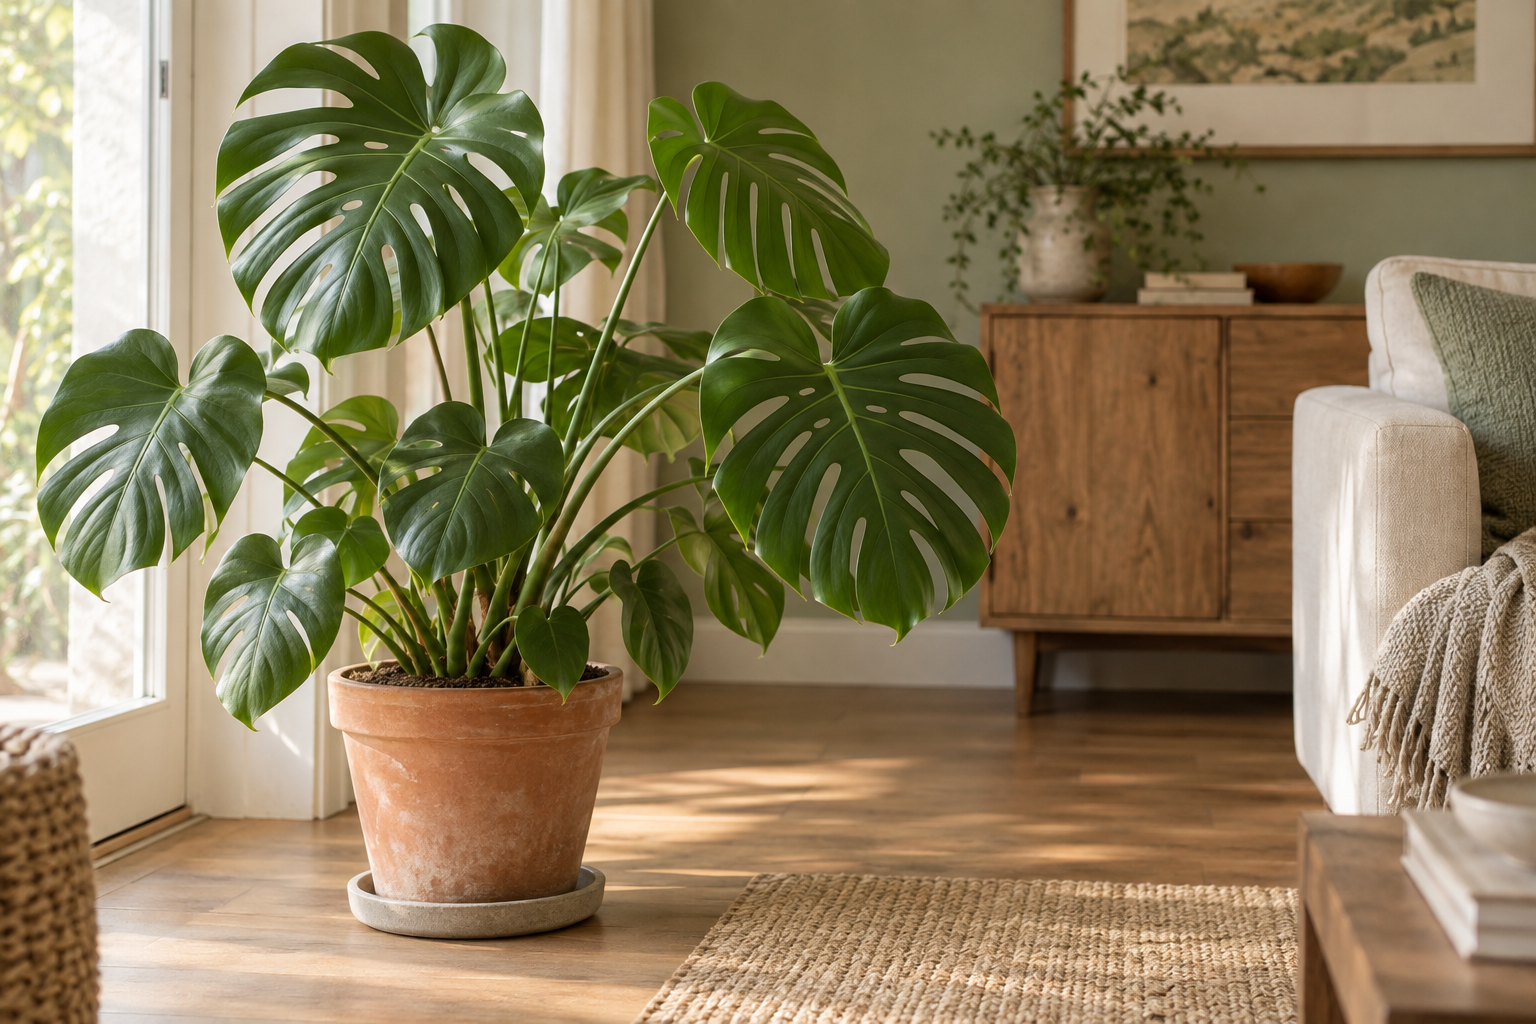


GREEN24 · Substrate knowledge
Repotting Monstera & Philodendron
Understand roots and substrate, then repot with care: three close-ups and eight illustrated steps guide you through the process.

Look at the root ball
Roots and substrate form the root ball. Support it when moving the plant and preserve healthy roots.

Recognise fine roots
Fine roots take up water and dissolved nutrients. Handle them gently and avoid unnecessarily pulling the root ball apart.

See the stem node
Aerial roots emerge from stem nodes. A suitable support steadies climbing shoots; guide aerial roots gently when repotting.

A closer look at the substrate
Dark peat and bark fibres form the organic base. Perlite, lava and expanded clay add visible mineral particles to the loose mix.
Practical guide
Planting and repotting in eight steps
These eight steps guide you through repotting Monstera and Philodendron, from assessing the root ball to aftercare. Protect the roots, retain the original planting depth and allow excess water to drain.
- 1
Assess the plant and prepare
Inspect the root ball and the condition of the old substrate. Crowded roots or an unstable pot can be reasons to repot; one yellow leaf alone is not enough.
Prepare fresh substrate, a suitable pot with a drainage hole, water and a support for climbing plants. Choose the timing by the plant's condition and growth rather than a fixed season rule.
- 2
Choose a stable, draining pot
Choose a stable pot with room for the existing root ball and some fresh substrate. Move to a slightly larger pot only when more root space is needed.
Keep drainage holes in the base clear. A closed outer pot does not replace a freely draining plant pot; excess water must be removable afterwards.
- 3
Prepare a substrate bed
Add enough ready-to-use substrate for the root ball to rest on fresh compost. Check the height before placing the plant: leave space below the rim for watering.
Keep the drainage holes clear and leave room for excess water to escape. A suitable saucer protects the surface underneath and can be emptied after watering.
- 4
Release the root ball and protect roots
Ease the plant out of its old pot while supporting the root ball. Do not pull on leaf stalks or shoots; preserve healthy fine roots.
Inspect visibly dead or damaged roots instead of routinely pruning the ball. Guide existing aerial roots gently and do not remove them simply because you are repotting.
- 5
Set at the original depth
Place the root ball on the prepared substrate bed. Use its former surface as the guide; do not bury the stem base or shoot junction more deeply.
Align the plant and add a climbing support if needed. Avoid pinching roots and aerial roots when positioning it.
- 6
Fill around and keep watering space
Add fresh substrate gradually around the root ball. Firm it only lightly to close large gaps without squeezing the ball.
Keep the new surface approximately level with the old root-ball surface. Leave watering space below the rim and do not bury the stem or root junction.
- 7
Water in and check drainage
Water evenly after placing the plant. Water should reach the newly filled area and drain through the outlet holes.
Let the pot drain and remove water from the saucer or outer pot. Avoid standing water; check substrate moisture before watering again.
- 8
Check settling and begin aftercare
After a short time, check whether the substrate has settled. Top up gaps gently if needed without setting the plant deeper or losing watering space.
Adjust later watering to the plant, site and moisture. According to the label, additional feeding with a suitable fertiliser begins no earlier than four weeks after potting.

Monstera & Philodendron
Explore light requirements, leaf development, aerial roots and growth habits.
View plant profile
Feeding after repotting
Pre-fertilised compost supplies nutrients. Learn when additional feeding is useful and how to choose the right dose.
Read the guideQuick answers before you buy (FAQ)
Can I use this mix straight away for Monstera and Philodendron?
Yes, the growing medium is ready to use in pots. The label specifies cultivation independent of natural soil, meaning containers separated from the ground.
Should I cut off my Monstera’s aerial roots when repotting?
Preserve healthy aerial roots when changing pots. They are part of a climbing Monstera; unnecessary cutting or forceful bending is not required.
Do I need a climbing support as well as the compost?
A suitable support is useful for a climbing Monstera. Plan its position when potting; whether a Philodendron needs support depends on its growth habit.
How large should the new Monstera pot be?
If more root space is needed, choose a stable pot only slightly larger than the old one. Clear drainage holes matter; large leaves alone do not determine pot size.
How much of the 10-litre bag will I need?
You need compost for the free space beneath and around the existing root ball. A reliable quantity depends on the sizes of both the pot and the root ball.
When can I feed again after changing pots?
The growing medium already contains fertiliser. According to the label, start further feeding with a suitable fertiliser no earlier than four weeks, taking the plant’s needs into account.
Safety and storage
Safety instructions
Safety information for handling Monstera and Philodendron growing medium (GPSR product information). Use only for the intended container cultivation; follow the label on the supplied bag.
- Cool storage: Store the growing medium dry, cool and away from direct sunlight and heat.
- Gloves: Wear gloves when repotting to reduce direct skin contact with the growing medium.
- Allergies: If allergic to mould or soil components, avoid direct contact and use a suitable mask when needed.
- Do not eat: Do not eat the growing medium. Keep away from children and out of reach of pets.
- Wash hands: Wash hands thoroughly with soap and water after gardening.
- Dust: Avoid creating dust and ensure good ventilation when transferring the mix. Use a suitable mask for dusty work when needed, especially if you have a respiratory condition. Avoid eye contact.
- Eye contact: If the mix gets into the eyes, rinse with water.
- Accidental ingestion: If accidentally swallowed, seek medical advice and have the product information available.
- Transport: Keep the bag closed and secured against spillage during transport.
- Disposal: Dispose of residues and packaging under local rules; do not put the medium into drains or release it uncontrolled into the environment.
- Open wounds: Growing media can contain microorganisms. Protect open wounds; clean and cover any injury.
- Food: Keep away from food and animal feed.
- Spilled mix: Collect spilled growing medium promptly and clean the area to prevent slipping.
Report safety concerns to info@green24.de, stating the product name and item number.
Product GPSR safety information
Storage
Store sheltered from weather, dry, cool and dark. Protect from drying out, waterlogging, direct sunlight and heat. Reseal opened bags tightly and use the contents as soon as possible.