Cold is the cue: sowing cold-germinating seeds now
Some perennials need a cool, moist period before their seeds can germinate. Make use of autumn with a controlled container sowing, the right compost, clear labels and plenty of patience.
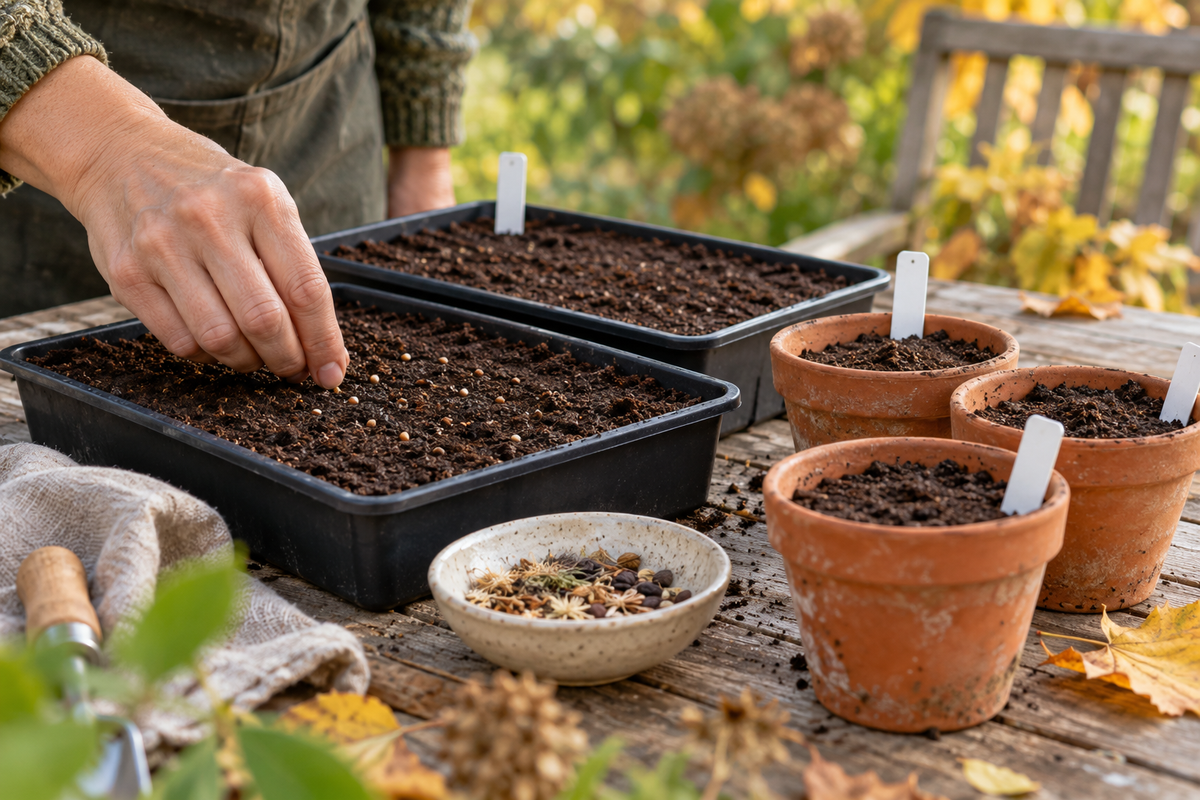
While some seeds need warmth to get started, certain perennials respond only after a cool, moist period. This natural dormancy helps prevent them from germinating too early. Late September is therefore a good time to check seed packets and sow suitable cold-germinating species outdoors.
One distinction matters: “cold germinator” is not a single set of sowing instructions. The species, origin and seed lot determine whether a cool period alone is sufficient, whether warmth must come first, and how important light and sowing depth are. The directions supplied with the seed always take priority.
Which seeds are suitable?
A cool, moist period can form part of the germination process for species such as columbines, primulas and various gentians. Requirements can still differ within the same genus. When buying or collecting seed, record the exact species wherever possible rather than relying on the common plant name alone.
Also check whether the seed should be sown fresh. Some species lose viability during prolonged or warm storage more quickly than others. If reliable instructions are unavailable, a small trial sowing is more sensible than using all the seed at once.
Six steps for autumn sowing
Read the instructions
First establish the sowing depth, light requirement and the necessary sequence of warm and cool periods. Do not apply one fixed number of weeks to every species.
Prepare the containers
Choose clean trays or pots with unobstructed drainage holes. Excess water can then escape instead of leaving the seed in permanently saturated compost.
Add the compost
Spread fine sowing compost evenly and firm it only gently. Moisten the compost carefully before distributing very fine seed.
Sow for the species
Seeds that need light should be left uncovered or covered only very lightly, as directed; other species require a specified depth. Do not treat them all alike by guesswork.
Label immediately
Record the species, cultivar and sowing date. White plant labels keep that information with the container, which matters when nothing may be visible for weeks.
Place outside under shelter
Put the sowing in a bright, sheltered outdoor position where it receives natural cool conditions. Check it regularly: the compost must not dry out, but it must not become waterlogged. A breathable mesh can help protect it from birds and mice.
Cool conditions are not the same as deep freezing
Severe frost is not the objective. For many species, what matters is a sufficiently long cool and moist period. Seeds in containers are more exposed to rapid temperature changes and drying than seeds in open ground. Do not leave the pots unprotected against a hot south-facing wall or inside a sealed plastic box in the sun.
If germination does not begin in spring, that does not automatically mean failure. Some species germinate irregularly or only after another seasonal cycle. Keep the labels legible, continue to manage moisture and review the species-specific guidance before discarding the sowing.
Your short plan for today
Sort your seed into three groups: cold-germinating species with clear autumn instructions, species with unknown requirements, and seed intended for warm propagation. Start only with the first group. Two clearly labelled containers, fine compost and a sheltered position are enough for a manageable beginning.
The product photograph shows the original product actually offered.