


At a glance
Hibiscus Compost
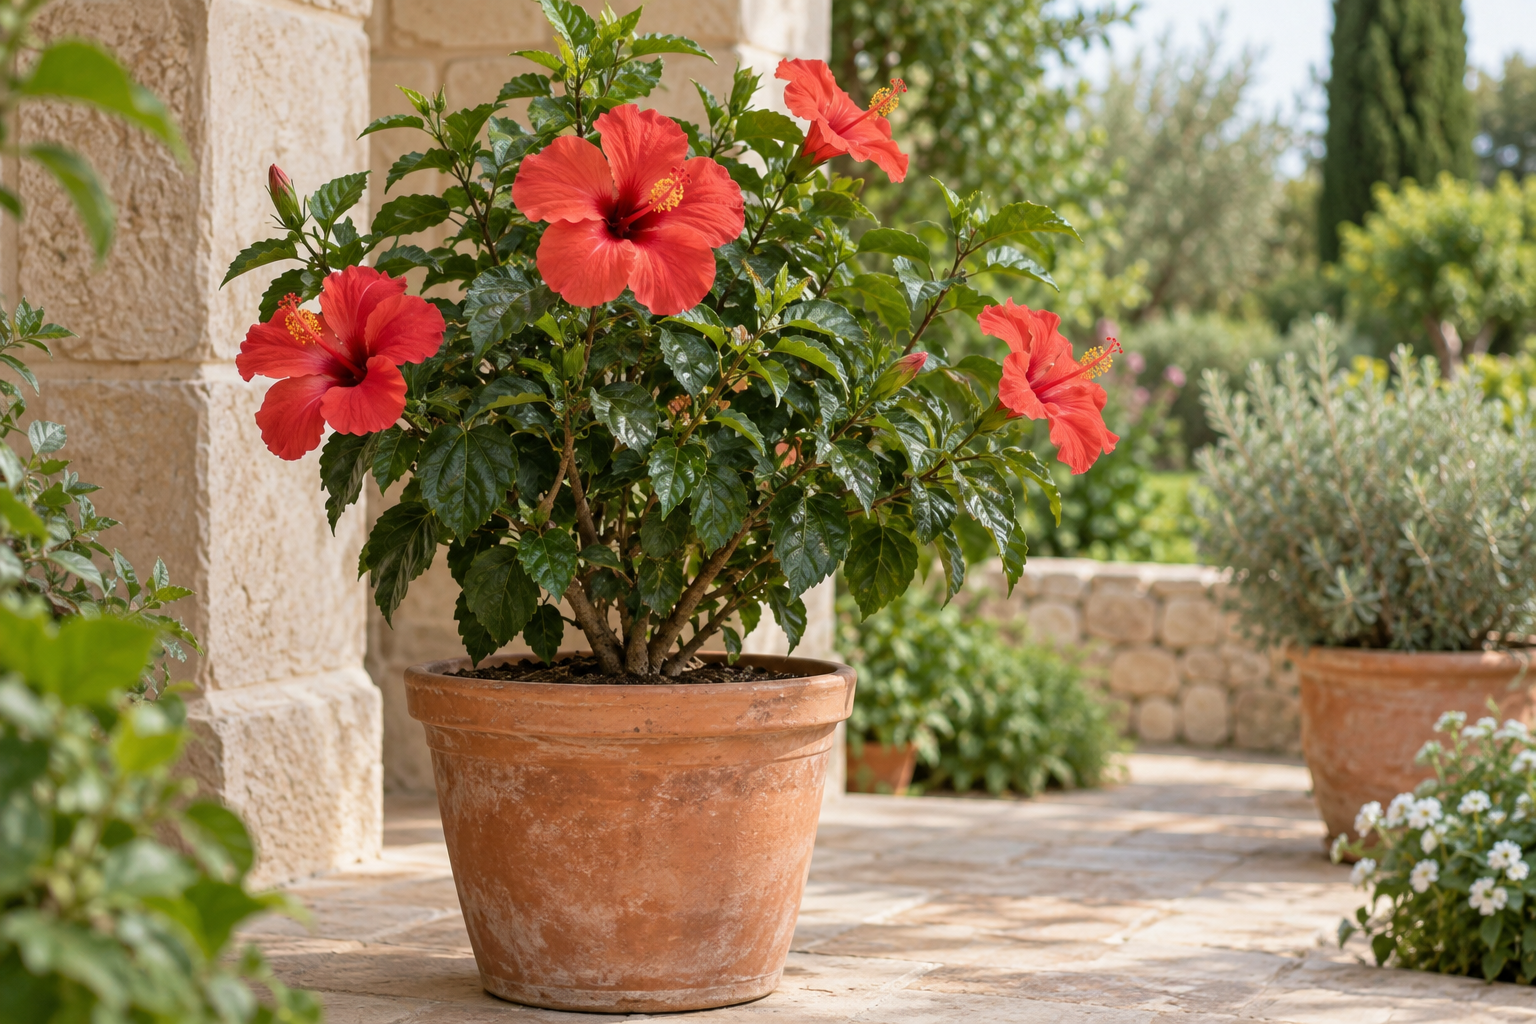
A well-cared-for hibiscus container starts beneath the leaves. This mix is intended as hibiscus growing medium and contains organic and mineral ingredients with an initial nutrient supply.
- Use
- Container cultivation
Tropical hibiscus and hardy garden types need different winter care. Choosing compost does not replace this distinction.
- Pack
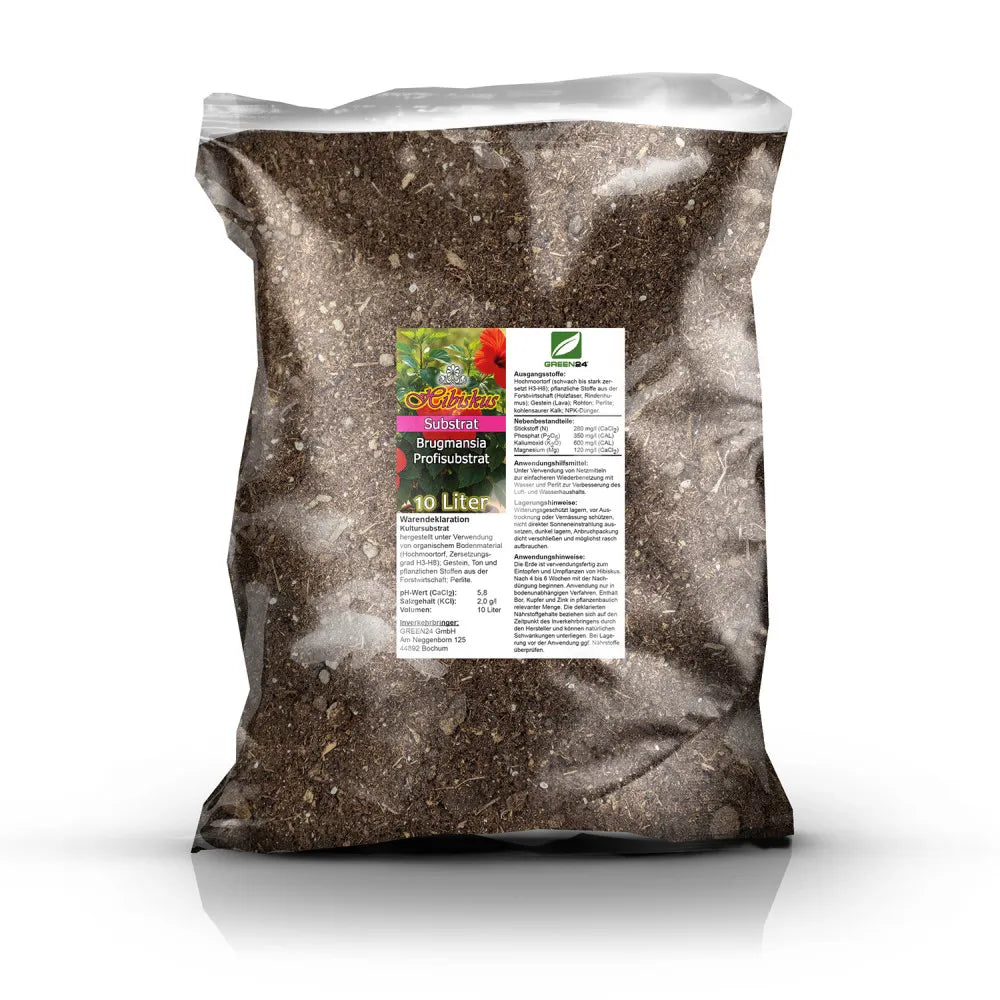
- 10 litres
Ready-to-use growing medium.
- Base
- Peat & structural ingredients
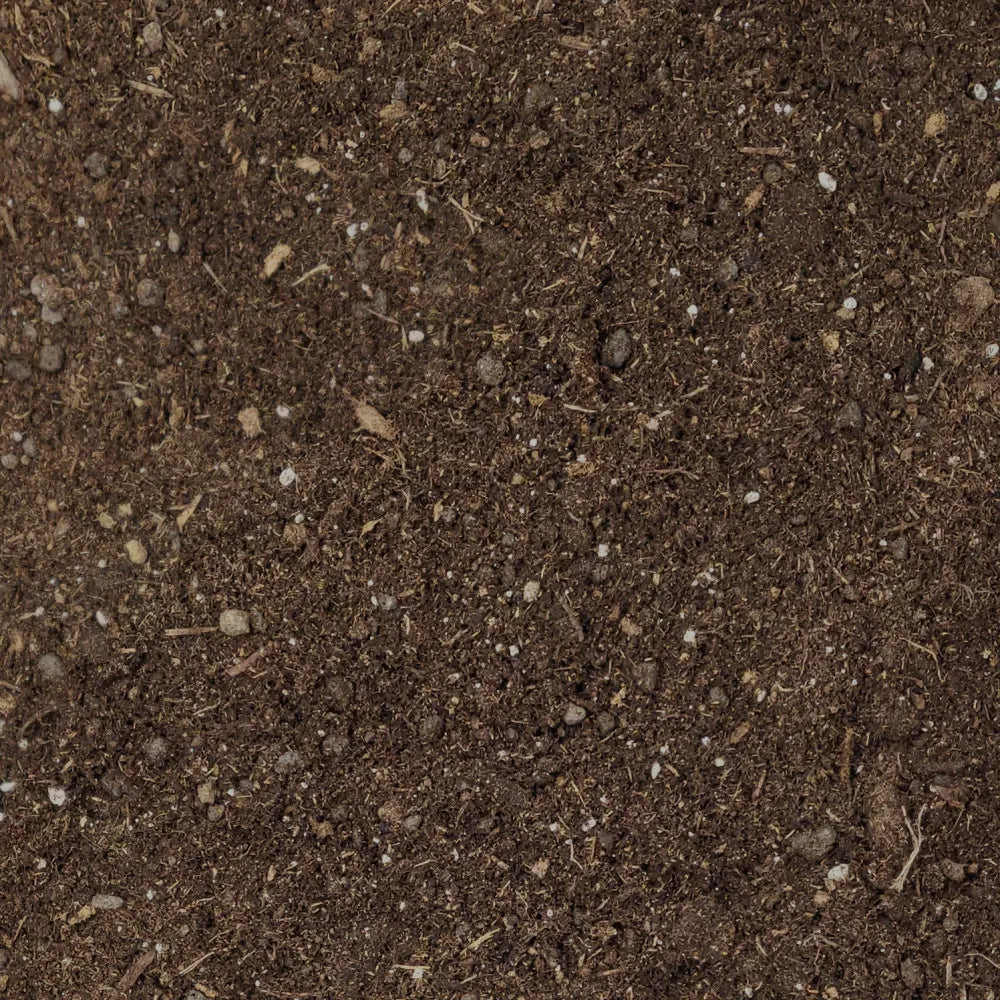
Raised-bog peat H3–H8; forestry-derived plant materials (wood fibre, bark humus); rock (lava); clay (raw clay); perlite; calcium carbonate; NPK fertiliser.
- Subsequent feeding
- After 4–6 weeks
Account for plant needs.
Ready-to-use compost for potting and repotting hibiscus in growing systems separated from the ground.
Easy application
A well-cared-for hibiscus container starts beneath the leaves. This mix is intended as hibiscus growing medium and contains organic and mineral ingredients with an initial nutrient supply.
- Check the plant and need
Inspect the root ball, compost and water uptake. Allow only the additional root space actually needed.
- Set planting depth
Keep the stem base or perennial crown at its previous level.
- Support establishment
After 4–6 weeks assess supplementary feeding according to the label and plant requirements; account for initial nutrients.
After 4–6 weeks assess supplementary feeding according to the label and plant requirements; account for initial nutrients.
Read the complete repotting guideProduct information
Application & repottingHibiscus Compost
Ready-to-use compost for potting and repotting hibiscus in growing systems separated from the ground.
After 4–6 weeks assess supplementary feeding according to the label and plant requirements; account for initial nutrients.
Tropical hibiscus and hardy garden types need different winter care. Choosing compost does not replace this distinction.
PropertiesProduct characteristics and guidance
Raised-bog peat H3–H8; forestry-derived plant materials (wood fibre, bark humus); rock (lava); clay (raw clay); perlite; calcium carbonate; NPK fertiliser.
With wetting agents for rewetting and perlite for air and water balance.
Declared growing-medium valuespH, salt content and nutrients.
Values apply when placed on the market. Nutrient contents may change during storage; check stored compost before use where necessary.
- pH (CaCl₂): 5.8.
- Salt content (KCl): 2 g/l.
- Nitrogen (N): 280 mg/l (CaCl₂).
- Phosphate (P₂O₅): 350 mg/l (CAL).
- Potassium oxide (K₂O): 600 mg/l (CAL).
- Magnesium (Mg): 120 mg/l (CaCl₂).
Pairs well with
Selected additions for your plant care.
-

Hibiscus Fertiliser
From €9,95 View productMatching fertiliser for later feeding. Account for the compost’s initial nutrients.


Product knowledge & plant care
Hibiscus Compost
For your growing space
A new place to grow
The root zone should absorb water while allowing excess moisture to escape. Repotting calls for a suitable container, gentle handling of the root ball and steady establishment.
Details & background
A well-cared-for hibiscus container starts beneath the leaves. This mix is intended as hibiscus growing medium and contains organic and mineral ingredients with an initial nutrient supply.
Ready-to-use compost for potting and repotting hibiscus in growing systems separated from the ground.
Composition and nutrition
The original pack
10 litres of ready-to-use growing medium. The full declaration is collected in the product information.
Details & background
The full declaration is in the product information. The pre-fertilised compost supports establishment; assess further feeding needs after 4–6 weeks.
Repotting: the complete process
A closer look at the structure
Raised-bog peat H3–H8; forestry-derived plant materials (wood fibre, bark humus); rock (lava); clay (raw clay); perlite; calcium carbonate; NPK fertiliser.
These eight steps show repotting an already rooted plant.
-
Check the plant and need

Inspect the root ball, compost and water uptake. Allow only the additional root space actually needed.
-
Choose a suitable container

Choose a stable pot with clear drainage holes. Consider mature plant size and the available space.
-
Prepare the workspace

Prepare a clean surface and tools, and loosen the compost. Keep drainage holes open; a thick gravel layer is not a universal requirement.
-
Remove the plant from its pot

Gently release the root ball from its old container. First assess persistent wetness, odour and damaged roots.
-
Check the root ball

Gently loosen loose outer compost and remove dead parts selectively. Do not heavily prune healthy roots without a reason.
-
Set planting depth

First add a bed of compost and place the root ball on it at its previous planting depth. Fill around, firm lightly and leave space for watering.
-
Fill and water in

Water evenly according to the plant’s needs. Excess water must escape through clear drainage holes; empty the outer pot or saucer. Top up settled compost if necessary without burying the stem base.
-
Support establishment

After 4–6 weeks assess supplementary feeding according to the label and plant requirements; account for initial nutrients.
After repotting
After 4–6 weeks assess supplementary feeding according to the label and plant requirements; account for initial nutrients.
Tropical hibiscus and hardy garden types need different winter care. Choosing compost does not replace this distinction.
Common questions
Is the compost ready to use?
Ready-to-use compost for potting and repotting hibiscus in growing systems separated from the ground.
When should I start supplementary feeding?
After 4–6 weeks assess supplementary feeding according to the label and plant requirements; account for initial nutrients.
Does this compost contain peat?
Yes. Raised-bog peat is declared as an ingredient on this product’s own bag label.
What deserves particular attention for the plant?
Tropical hibiscus and hardy garden types need different winter care. Choosing compost does not replace this distinction.
How much does one bag contain?
One bag contains 10 litres of growing medium. The amount required depends on the container and existing root ball.
Safety and storage
Safety instructions
Minimise dust and avoid eye contact. Clean hands after handling. Keep compost away from food and animal feed.
Wash your face and hands thoroughly. Use diluted fertiliser promptly and keep it out of water bodies and wastewater.
Product GPSR safety information
A safety PDF is not currently available for this product. Please refer to the product information below and the label.
Storage
Sheltered and tightly sealed.
Store sheltered from weather, in the dark and away from direct sunlight. Protect from drying and waterlogging; seal opened packs tightly and use promptly.