Keep your favourite pelargonium: take cuttings for a bright windowsill
A favourite pelargonium need not be a summer farewell. Prepare cuttings and a bright growing space with suitable compost, carefully managed moisture and a watering tray as a practical aid.
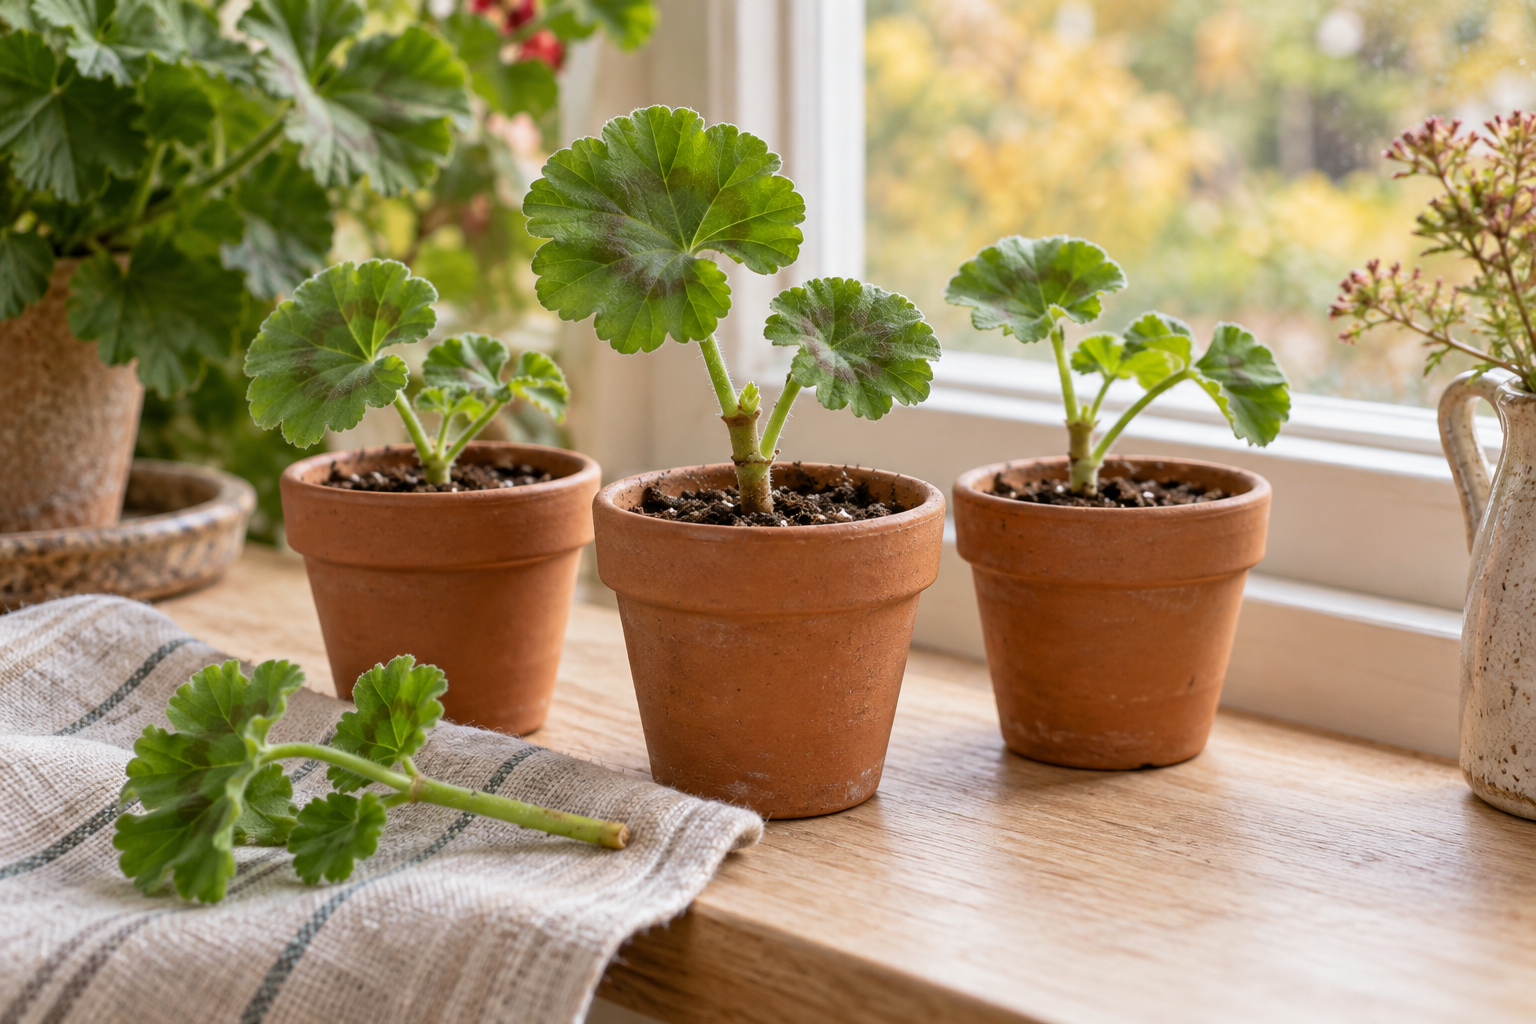
Perhaps it is the flower colour, perhaps the shape: some pelargoniums are worth keeping for next summer. Taking a few cuttings makes a manageable autumn project, without needing a large greenhouse. For pelargonium cuttings in September, a bright windowsill is suitable if you do not have a greenhouse.
Plan that space before taking your cuttings. An empty corner in a dark hallway is not enough. You need somewhere you can observe the small pots easily and grow the plants on under protection. Start with a few carefully prepared cuttings rather than filling the windowsill with improvised containers.
Which pelargonium would you like to keep?
Choose a healthy parent plant and suitable shoots, preferably without flowers. Material showing visible pests, unusual spots or soft, damaged areas is unsuitable for this project. Wanting to preserve a special plant should not mean propagating from material that is clearly in poor condition.
Write down the variety, if known, or a description you can recognise later. A photograph of the parent plant can help with identification. Add the date you took the cuttings to each label. At your next care check, you can identify which pots belong together without relying on memory.
From shoot to prepared pot
Gather clean, sharp tools, small pots with drainage holes and suitable, free-draining cuttings compost. Prepare the containers first so that the cut shoots do not spend unnecessary time waiting to be planted.
Prepare the shoot
Trim the base just below a leaf joint. Remove lower leaves and any flowers or buds, leaving healthy leaves at the top.
Insert the cutting
Make a planting hole, insert the bare lower section and gently firm the compost around it. Keep leaves above the compost surface.
Label and arrange
Position the pots so you can reach and inspect each one separately. Keep their labels visible.
Moist does not mean permanently wet
Managing moisture is a balancing act when propagating cuttings. Excess moisture can leave propagation compost waterlogged. More water is therefore not necessarily better for a cutting.
Check the compost inside the pot, not just whether the capillary mat feels moist. Top up only when conditions in the pots require it, not as a daily routine. How quickly a pot needs water depends on the actual growing conditions. The tray does not replace observation or the need for a suitable growing medium.
A bright position, with a plan for later
Place fresh cuttings in good light, sufficiently warm and protected from strong direct sunshine. Overwintering rooted young plants is a separate stage of care: bright, frost-free conditions and relatively restrained watering are sensible at that stage.
During your checks, look beyond moisture alone. Remove dead or rotting material and keep an eye on each cutting’s condition. A guaranteed rooting date would be misleading because plant material and growing conditions vary.
For today, a clear starting point is enough: choose your favourite plant, prepare a bright space and arrange the small pots where you can look after them easily. If a shared supply of water from below suits your containers, explore the G24 watering tray with capillary mat.
The product photograph shows the watering tray offered, not a documented propagation setup.